

Showing posts with label science. Show all posts
Showing posts with label science. Show all posts
Monday, July 15, 2013
Simple Summer: Mind Blowing Science
Wednesday, June 6, 2012
Simple Summer Fun: Paint Finger Nails

Oh yes, this is a beloved activity of my girls. This is great--no prep, learn colors, practice fine motor skills, and practice sitting still skills! You can also get into the science of the painting. This would be a fun one for your color of the week every week. On your color day, paint your nails that color. Then you have a couple of days of pointing out what color is on the finger nails before it wears off.
Wednesday, May 2, 2012
Simple For Mom: Magnet Set

This has been a great activity for the children to explore and play with when I needed something simple and easy to just pull out and do. Magnets are fascinating to children, and just playing with them allows a lot of exploration. We have been very happy with this purchase. When I bought it, it was about 30 dollars and as I write the post, it is about 37 dollars. So you might try to find it cheaper if you like, or wait for the price to lower on Amazon. You never know what the prices will do :) At least I don't.
Monday, April 30, 2012
Color Mixing Equations

Here we have a fun activity to help your child learn what colors go together to make another color. In case you don't know, here are some basic color creations:
Red and Blue make Purple
Red and Green make Brown
Blue and Yellow make Green
Green and Yellow make a lighter green
Yellow and Red make Orange
Blue and Green makes a Blue-green
Adding white makes a color lighter--so adding White to Red makes Pink. Adding White to Black makes Gray.
The activity pictured was done with do-a-dots. The two colors were put in the circle, and then the color they added up to was put after the equal sign.
You could have a testing paper where the child could mix colors to see what two colors created what new color. I would start by demonstrating a color combination and then let the child combine and answer.
Wednesday, April 18, 2012
Bird Nest

Supplies:
- brown paper lunch sack
- papers and twigs (and more if desired( to go in nest
- glue
- peep or other bird
Activity:
- Roll the brown paper sack down to form a nest shape
- Add your papers, twigs, etc. and glue in place in your nest
- If you want to be able to eat the peep, let glue dry before adding. If not, glue peep in place.
Enriching Activity:
To get more from this activity, talk about why birds build nests, what they use to build nests, and even read a book on birds building nests.
You can go for a walk and see if you can find some nests in trees in your neighborhood.
Monday, March 26, 2012
Caterpillar to Butterfly

Last year, my neighbor caught a caterpillar for us to raise until it became a monarch butterfly. I hadn't ever caught a caterpillar before, but she has done it every year since childhood. She just brought me the caterpillar in the jar. We enjoyed it so much I think we will make it our own tradition!
I figured someone on the Internet would have more experience and advice on the topic than myself, and I found it here: http://www.butterflyschool.org/teacher/raising.html
We broke some of the things listed on this site--like we obviously used a jar with a lid with holes in it (apparently a no-no), but our butterfly survived and thrived. You probably will want to ask around with people who live by you as to what type of caterpillars you can find, where to find them, and when. This site said most caterpillars pupate in the winter. Ours was late summer and turned into a beautiful butterfly late in September. So when this activity is right for you will depend on your climate and what types of butterflies you can find.
Raising a caterpillar into a butterfly is a lot of fun and a great science activity. You watch the caterpillar get bigger and bigger. Then you see it in its chrysalis. Then it comes out, you watch its wings grow stronger, you can hold the butterfly, and then when it is strong enough, you release it and watch it fly away!
Here is our butterfly exercising the wings:

Wednesday, October 26, 2011
Candy Corn Tissue Art

Here is a fun and simple Halloween activity that is also benign (meaning, it is not scary in the least. Another bonus, for those of you who don't like Halloween, it is a seasonal activity that is about candy, not Halloween).
Kaitlyn did this in her preschool class this year. You can see it is rather simple-- white triangle and tissue paper squares. The tissue paper was not glued (hence the missing square), but rather was dipped in water and put on the paper wet. When it dried, it stuck.
Here is the cool possible bonus. Kaitlyn's teacher has done this in the past, but the tissue paper bled onto the paper, so the color transferred. That is what she was going for (she didn't know what happened--apparently the tissue paper brand or type might be of importance). If yours does bleed, you would want to remove the tissue paper before it dried so it didn't stick to the white paper.
I am going to try this out with different tissue papers and see if I can figure out which papers work for bleeding. My guess is the waxy feeling paper will not bleed while the rougher feeling paper will. I am starting with cheap dollar store paper...I will keep you updated when I have answers, but until then, I wanted you to have the chance to do this if you wanted!
Monday, October 17, 2011
Science Book
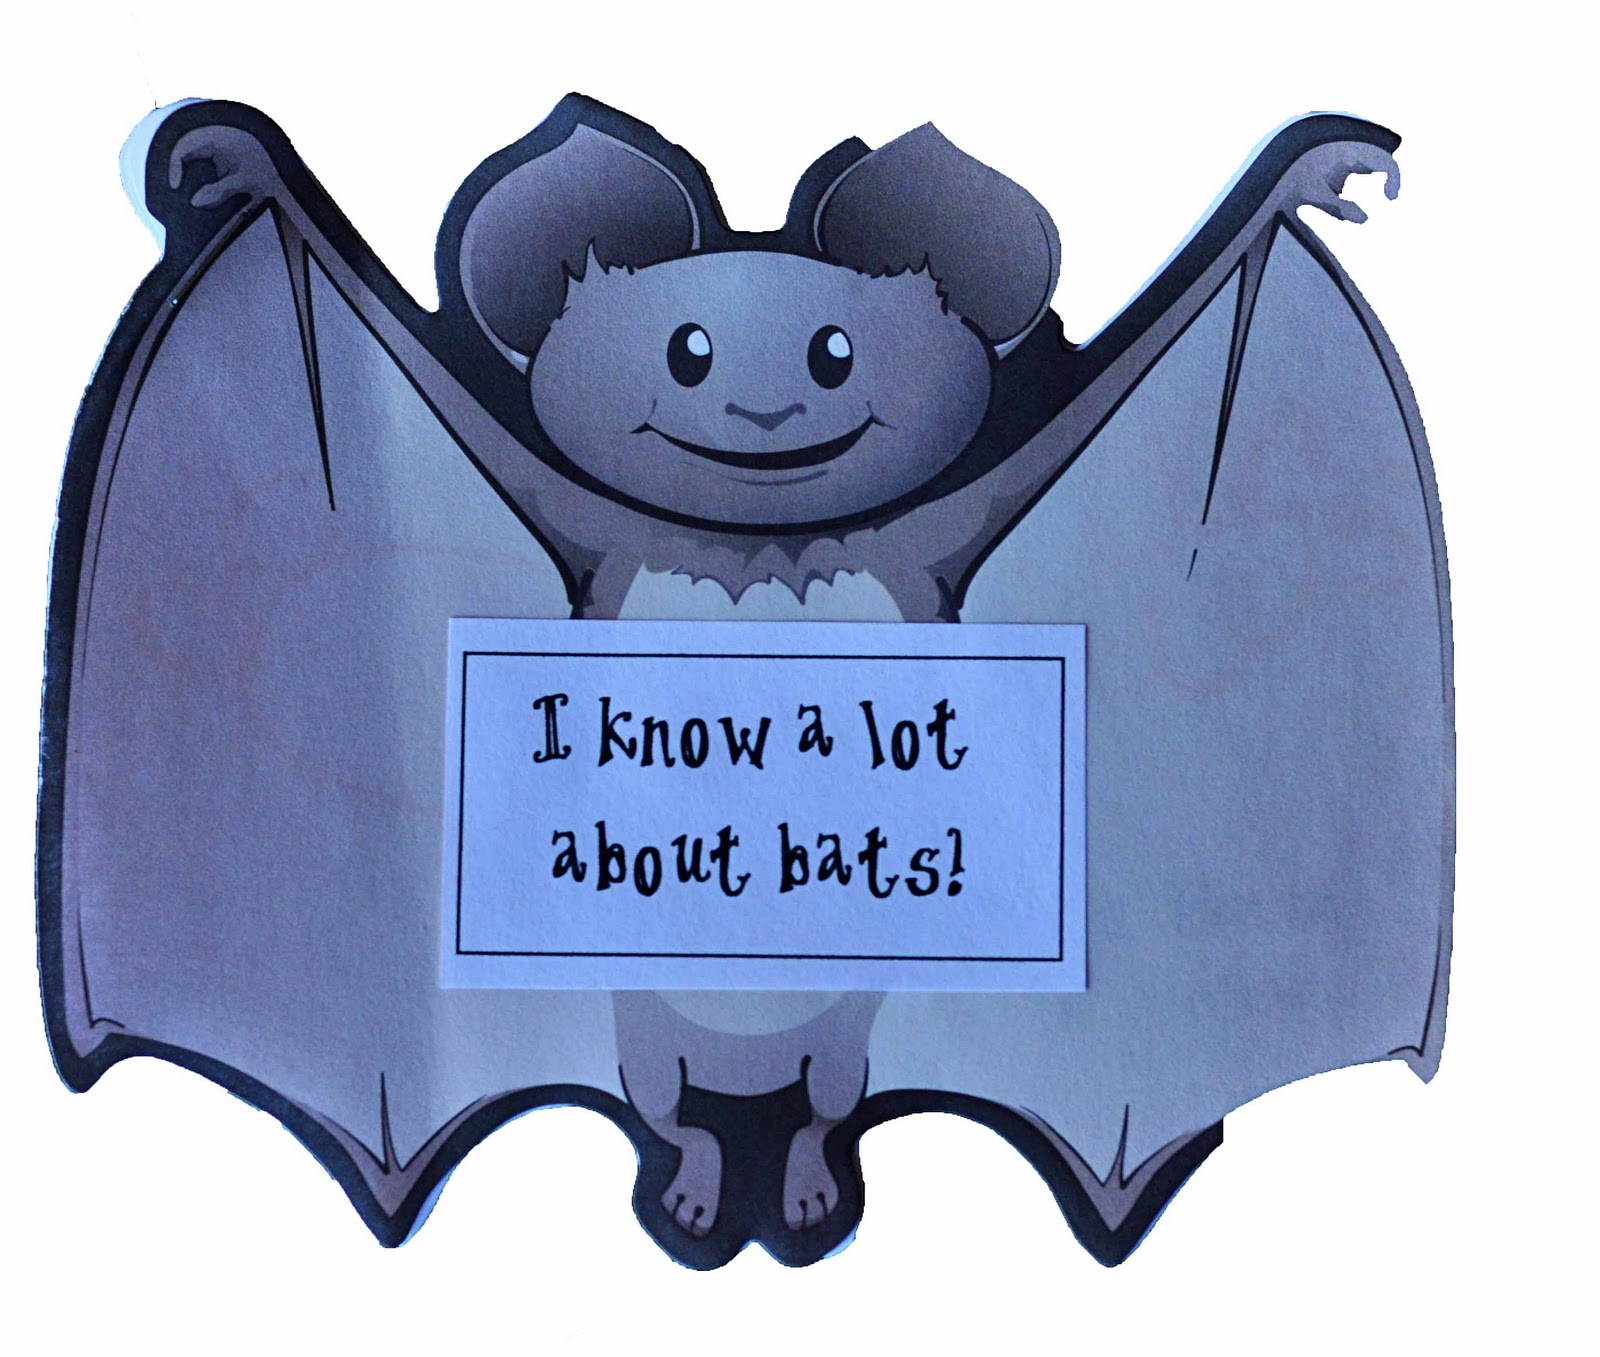
Little books are a great way to reinforce what a child has learned about a particular subject. Kaitlyn made this bat book at preschool.
They learned all about bats. At the end of the unit, they each choose four things they knew about bats and colored a picture of each item on a page for this book. So Kaitlyn had that they slept in the day, had wings, is not a bird, and likes to eat nectar. The great thing is that she loves to look through it and tell me what each page is a picture of, so it helped reinforce as she made the book, and then helps over and over (and over) at home :) as she tells me about it (again).
You could do this for any unit you are learning about. Bugs, animals, plants, machines, vehicles, space...it is endless. This is a great way to work science into your week.
Thursday, July 28, 2011
Color Mixing with Ice
This is a great outdoor activity but a few simple adaptations can easily bring this activity inside during the winter months and actually works well with a winter theme.
 Ice is a great medium to practice color mixing. J and I made yellow and blue ice cubes together. This is an activity all in itself, so be sure to include your little one in this step. It's a great way to teach the process of freezing. Let them add the coloring and fill the tray using a scooper or a medicine dropper to include some fine motor skill practice! Then they get to practice patience while waiting to play with their color cubes.
Fast forward to the activity, J first separated the ice cubes into bowls by color and chose to make blue water first. I filled the tray with a small amount of water. Make sure the tray is white/clear so you can easily see the water change colors as the ice melts. J really enjoys scooping and stirring the ice cubes, letting them melt in his hands, etc. He basically plays while watching the ice melt. This is a great time to let them utilize their motor skill practice with tongs or different size (and length) scoopers or spoons. I’m surprised at how long a little ice can entertain!
When he moved onto the yellow ice cubes I asked him which color the water (currently blue) would become and he of course guessed yellow. I told him it was going to be a surprise that he’d have to wait and see. He wasn’t convinced the water was actually green until the very end when there was no denying it. He was sure it should be either blue or yellow!


We then filled the ice cube trays with green water to play with in the future. This activity is free, entertains and recycles itself too!
Becca also blogs at Fun and Engaging Activities for Toddlers
Thursday, July 21, 2011
Ice Melting Bags

This was one of our science activities when J was almost 2 years old. I made several different colored ice cubes using food coloring. I had J separate the different colors into sandwich bags and we taped them to the dishwasher so they would be at his eye level. We described the ice together (cold, hard, slippery, heart-shaped in our case). I opened the freezer door and had him feel inside. He noticed that it was cold in the freezer. I told him that ice needed to be kept cold or it would melt. Since we had already worked with ice a little, I asked him if he remembered what happens when it gets warm and he did!! He replied “water!” By this point our ice bags had already begun to melt, so I had him look for water in the bags. He was excited to find some in a couple of the bags! Throughout the afternoon, we kept an eye on our ice bags. I pointed out that the ice was getting smaller and the water in the bag was increasing. We talked about the different properties of ice and water. By dinnertime, he was excited to show daddy his bags (of now colored water) and to tell him that the ice had become water because they got warm.
I got the general idea for this activity from http://www.preschoolrainbow.org/toddler-theme.htm.
You could easily turn this into a color mixing activity or get more specific by placing more ice in one bag and noticing how it melts slower this way, discuss why,…
Becca also blogs at Fun and Engaging Activities for Toddlers
Wednesday, August 11, 2010
Simple Summer Fun: Popsicles

Ingredients:
- one package Kool-Aid
- one package Jell-O
- 1 1/4 cup sugar
- 3/4 cup hot water
- 3/4 cup cold water
- 2 bowls
- Spoon
- Popsicle Molds
- Optional: funnel. I like to use it, but it isn't necessary
- Mix dry ingredients in a bowl
- Measure 6 T of the dry ingredients into another bowl. Add the hot water. Add the cold water.
- Pour the into Popsicle molds and freeze.
- Store the remaining dry ingredients in an airtight container to use in the future. You could probably make Popsicles all summer from this one mix.
Monday, August 9, 2010
Simple Summer Fun: Gardening

First of all, sorry for the lack of a "real" picture. My computer is down and out with a virus (getting fixed) and I am without photos, so we will rely on Google's ability to scan the Internet.
We grow a rather large garden and I have my children help with each step. They help plant seeds. Do the drop seeds and sometimes plant too many? Yes! Especially with things like lettuce seeds which are rather small.
I also have them help me weed on almost a daily basis. This is when the most learning happens. They ask question after question about what we see and do. They learn to identify a plant by how it looks. They can tell the difference between a plant and a weed. They watch the fruit and vegetables slowly grow on the plants. They ask about bugs. We talk about sun and water and other things important to a garden. Children are so incredibly observant--they will likely even point out trends in your garden you aren't picking up on.
If you have a garden, involve your children! If not, consider growing something (Manda has talked in the past about small garden growing) next year. I can promise you that you will be absolutely amazed at the things your child will learn.
What ages can do this? I would say most two year olds and older can help. When Kaitlyn was two, she had the hardest time figuring out where not to step until plants popped up. I had to take a deep breath, tell her again, and remember she was two and also far more important than any seed in the dirt :). When Brayden was two, he totally got it and was fine. So you never know. But once the plants were up, she was fine.
You will have to watch a two year old much more closely than an older child. But even just one year later at 3, Kaitlyn was perfect in the garden, and she is recognizing plants.
McKenna is a pre-toddler and she joins us in the garden. She digs in the dirt in designated areas and she will help harvest food by loading it in the big bowl. She is 16 months old so filling containers is right up her alley right now.
Another great bonus of the vegetable garden is that you will find your children eager and excited to eat the food they have watched grow, even if it is a food they usually wouldn't eat. I could go on and on. I love the garden! (notice I said THE garden and not TO garden--ha!).
Monday, July 19, 2010
Simple Summer Fun: Cloud Watching

In order to do this activity, your child will need to be at a point of showing some imagination. You can by all means try this with a child who isn't showing imagination; practice helps right? But it will be most successful with those who are imaginative. I would say this is best for preschoolers and up, with some 2.5 and older doing well. Of my children, Brayden (5) finds the most enjoyment out of this. Kaitlyn (3) likes to do it, but it doesn't hold her interest as long as it does Brayden's. McKenna (15 months) likes to point to the sky and babble like she knows what she is talking about :).
Cloud watching can be so relaxing. You simply lay on the grass or sit and look up at the clouds. You then take turns talking about what you see. Do you see a dinosaur? A heart? A Lion? Share what you see. Before you go out, if you want this to be a bit more educational, you can brush up on your cloud types and on cloud formation and drop little science facts into the conversation. You could also share facts about what your child sees. "Do you know what a baby lion is called? A baby lion is called a cub."
This is a simple, relaxing summer day activity for you to do with your children.
Wednesday, July 7, 2010
Simple Summer Fun: Bubbles
.JPG)
Bubbles are another fun summer activity that is providing learning opportunities for your child. Your child observes how the bubbles blow and how the wind affects where they go. Your child observes what makes bubbles pop. Your child also gets some great gross motor work in when chasing bubbles, and can get fine motor work in while blowing bubbles.
I once saw a great addition on the show Curious George. George wanted to blow bubbles using different shapes--for example, a slotted spatula. When he blew them, they of course didn't blow into rectangles, triangles, or squares, but circles. So if you want to work some science shape learning in, you can try that.
.JPG)
Oh, and if you start to get light headed from all of the bubble blowing, I seriously love this thing. My sister gave it to Kaitlyn as a birthday gift over a year ago. It is nice to have my breath back :) Plus, the kids love to blow bubbles with it and I get to take pictures! There are lots of Bubble Blowers out there.
.JPG)
Monday, April 5, 2010
Spring Chick

This is really a classic activity that my husband even remembers doing in school.
AGE RANGE
The bulk of this activity is cutting, so your child will need to be able to cut well enough to do this. I would guess for most that will be somewhere between 3.5-4.5, with some possibly between 3-3.5.
If your child is unable to cut, you could let your child color the chick and even the egg (make it an Easter egg!) before you cut it out. Young toddlers would have fun playing with this once it was done.
SKILLS TAUGHT
This is a great activity for talking about baby chicks. You can talk about how they grow and how they hatch. It also provides fine motor skill development if your child cuts the chick out. You could also turn this into a shape activity.
MATERIALS
- White paper (cardstock works best)
- Yellow paper
- Orange paper
- Crayons
- Scissors
- Brads (two)
- Glue
- Draw the egg shape on the white paper
- Draw a zigzag for the crack down the center of the egg
- Draw the chick on the yellow paper
- Draw a triangle on the orange paper
- If your child will be coloring the eggs and/or chick, have him do so
- Have your child cut out the items (or you do it if needed)
- Have your child cut the egg down the zigzag (or you do it if needed)
- Have your child glue the nose in place
- Have your child draw eyes on the chick
- Punch one brad in each half of the egg
- Put the egg together over the chick. Push the brads through the chick. Open out the brads to secure in place
- Talk about chicks, incubation, and hatching

Tuesday, January 19, 2010
Slippery Roads: A science lesson
In our neck of the woods, we don't see much snow. Ice, however, seems to be a winter staple. School is canceled much more frequently for ice than for snow and the roadways here see their fair share of accidents and chaos thanks to the slippery sheets of mayhem.
A fun activity to teach about the effects of salt on ice is just a baking sheet away!
What you'll need:
A fun activity to teach about the effects of salt on ice is just a baking sheet away!
What you'll need:
- rimmed baking sheet/cookie sheet
- water
- Matchbox cars or something of the like
- salt (table salt is fine!)
- freezer
- ice
- sandwich bag
To prep:
- Fill a baking sheet up with a thin layer of water. Place in freezer and let it freeze completely.
- Put ice cube in a bag.
Activity:
- I started by filling an ice tray with her and freezing it. This way she could see that ice is just frozen water.
- Give a bag with 1 cube of ice. Let them roll it around. Instruct them to rub it, blow on it, etc. Ask questions like, "What is happening to the ice? Why do you think it's melting?" Make sure you explain after that it was the heat from the air and their hands that helps it melt.
- Pull out tray of frozen water. Let them roll and skid cars across it. Point out how slippery it is, asking what would happen if there was ice on our roads outside? If there isn't heat to melt the ice, our cars would slip.
- I then made comments like, "I wonder if we can put something on the ice to help it melt. What do you think?"
- If desired, try other items in the house like cornstarch, flour, cocoa powder. Let them pour salt on the ice. Make observations together about what happens when the salt is put on top of the ice.
- Let them roll the cars. You should find some traction, as well as the ice melting. Explain that we also put salt on the roads to help melt the ice and keep cars from slipping. Point it out next time you see it!
This is a fun activity to do, especially if your kiddos are into cars.
Thursday, December 31, 2009
Parts of the Face
Age Range: 12-36 months
Materials:
-blank paper
-crayons
Activity:

Credit:
Slow and Steady Get Me Ready by June Oberlander
Materials:
-blank paper
-crayons
Activity:
- draw a circle for a face and tell your child that you are drawing a circle to make a head.
- draw 2 eyes, color them, and point them out and tell your child these are eyes.
- draw 2 ears, nose, mouth, and hair describing as you go.
- ask your child to point to each body part.
- take your child's finger and trace the circle with it.
- have your child point to his own eyes, nose, ears, mouth, and hair.
- let your child color the picture.

Credit:
Slow and Steady Get Me Ready by June Oberlander
Wednesday, December 16, 2009
Texture Cards
Materials:
-4 small "cards" made of construction paper or foam paper
-glue
-something rough (sand, rice, or salt)
-something soft (cloth or cotton balls)
-something bumpy (beans or just something to make the foam paper bumpy)
-sharpie
Preparation: (kids above 2 years old can help with this)
-let your child examine each card and tell them what each card is.
-have your child close his/her eyes and tell you which texture card they're feeling without looking at it.
Extensions:
-This could be a part of a bigger unit on the 5 senses or parts of the body. This would be a great way to discuss the sense of touch, skin, or hands.
-ask your child to find other things that feel bumpy, rough, smooth, or soft. They could go on a scavenger hunt throughout the house to collect real objects or simply draw pictures of them.
**this activity would be good for a child with sensory processing disorder to gain controlled, small amounts of experience with different textures on their skin.

-4 small "cards" made of construction paper or foam paper
-glue
-something rough (sand, rice, or salt)
-something soft (cloth or cotton balls)
-something bumpy (beans or just something to make the foam paper bumpy)
-sharpie
Preparation: (kids above 2 years old can help with this)
- write 4 types of texture on the cards (rough, bumpy, soft, smooth)
- spread glue on the rough card and sprinkle sand, rice, or salt over it, then tap the card over the trash can to get the excess off. Set aside to dry.
- spread glue on the soft card and spread something soft over it. Set aside to dry.
- for the bumpy card either glue beans onto it or simply poke indentations in the foam paper to make it feel bumpy.
- the smooth card stays the way it is.
-let your child examine each card and tell them what each card is.
-have your child close his/her eyes and tell you which texture card they're feeling without looking at it.
Extensions:
-This could be a part of a bigger unit on the 5 senses or parts of the body. This would be a great way to discuss the sense of touch, skin, or hands.
-ask your child to find other things that feel bumpy, rough, smooth, or soft. They could go on a scavenger hunt throughout the house to collect real objects or simply draw pictures of them.
**this activity would be good for a child with sensory processing disorder to gain controlled, small amounts of experience with different textures on their skin.

Wednesday, November 4, 2009
Falling Leaves Picture
This is a fun, easy picture for your child to make. A great thing is that she is making a picture of leaves falling, so her main objective is to get the paper leaves on the paper...anywhere on the paper. This makes it friendly for young toddlers on up. Kaitlyn did this in our church nursery.
AGE RANGE
18 months and up. You could try it with a toddler younger than that, but expect to help a lot.
SKILLS TAUGHT

AGE RANGE
18 months and up. You could try it with a toddler younger than that, but expect to help a lot.
SKILLS TAUGHT
- Science
- Fine motor skills
- Colors
- Paper with a tree drawn or printed on it. You want just the tree without leaves. If you are doing this with an older preschooler, you could have him draw the tree himself.
- Pieces of paper to represent leaves. You can do squares, leaf shapes...whatever. You can also let your child rip small pieces of paper up to put on the tree.
- Glue.
- Give your child the supplies.
- Have your child paste the leaves on the picture.
- Talk about how leaves change colors in autumn and fall to the ground. Our nursery leaders also talked about our beautiful world.

POST ACTIVITY
A great thing you can do after you make this picture is to go out and rake leaves. Rake them into a pile and jump into them! Also, point out the leaves that are still on the trees.
Saturday, October 24, 2009
Baby Ghost
Preparation
-take a scrap of white fabric and ball it up
-take a second scrap of white fabric and wrap it around the balled fabric, securing it at the bottom of the ball with a piece of yarn or a hair tie.
-draw eyes and an open mouth on the ghost (feel free to make it as scary or friendly looking as fits your child's age and maturity level)
Activity
Sing this song while waving the ghost puppet around to touch each body part.
*This is a great way to distract a squirmy baby or toddler during diaper changes!
Skills
-body parts
-rhyming

Credit
I found this activity at a neat site I just discovered: http://www.preschoolexpress.com/
(This activity is in the toddlers section)
-take a scrap of white fabric and ball it up
-take a second scrap of white fabric and wrap it around the balled fabric, securing it at the bottom of the ball with a piece of yarn or a hair tie.
-draw eyes and an open mouth on the ghost (feel free to make it as scary or friendly looking as fits your child's age and maturity level)
Activity
Sing this song while waving the ghost puppet around to touch each body part.
*This is a great way to distract a squirmy baby or toddler during diaper changes!
|
-body parts
-rhyming

Credit
I found this activity at a neat site I just discovered: http://www.preschoolexpress.com/
(This activity is in the toddlers section)
Subscribe to:
Comments (Atom)
LinkWithin
